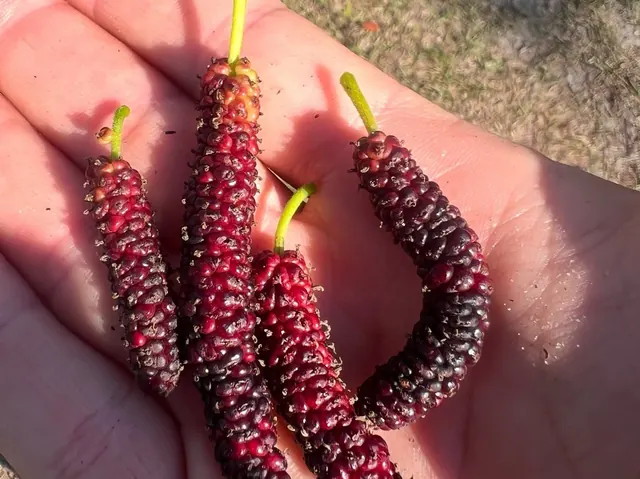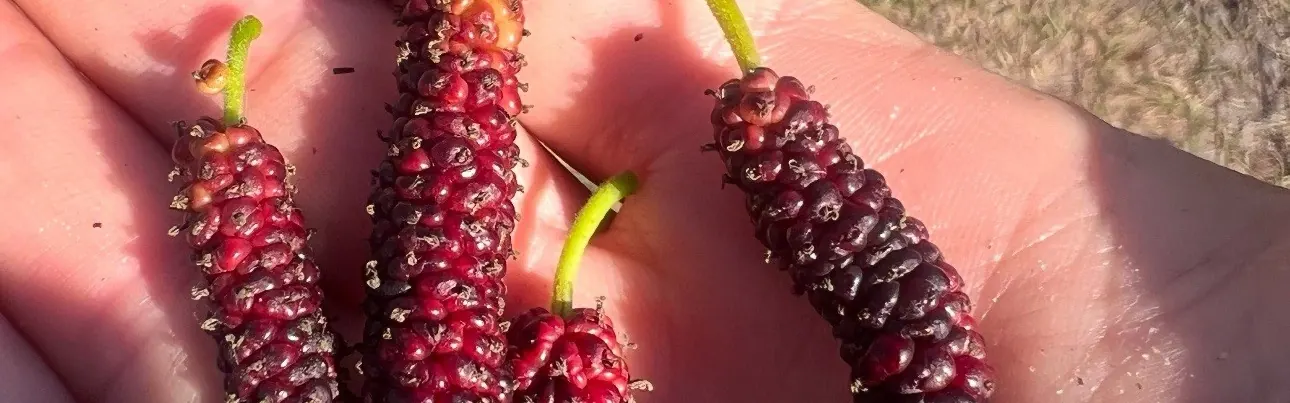
Transforming your South Florida landscape into a thriving tropical fruit oasis doesn't always require expensive nursery stock. Propagating tropical fruit plants from cuttings offers an incredibly rewarding, economical, and precise method to expand your edible garden, ensuring you replicate the exact qualities of your favorite fruit varieties. This guide will walk you through the essential steps and specific considerations for successful tropical fruit propagation right here in our unique climate.
What Is Propagating Tropical Fruit Cuttings?
Propagating tropical fruit cuttings, also known as clonal propagation, asexual propagation, or vegetative propagation, is the process of creating new plants from a section of an existing "mother" plant. Unlike growing from seed, which can result in genetic variations and unpredictable fruit quality, cuttings are genetically identical clones of the parent plant. This means that if you take a cutting from a 'Sweet Delight' mulberry, the new plant will also produce 'Sweet Delight' mulberries, ensuring consistent fruit characteristics like flavor, size, and disease resistance. This method bypasses the juvenile phase for many plants, allowing for quicker fruiting compared to seed-grown specimens.
Why This Matters for Florida Growers
For South Florida gardeners, mastering tropical fruit cuttings is particularly advantageous. Our subtropical climate provides an extended growing season and ideal temperatures for rooting many species. Florida-specific benefits include:
- Preserving Desired Cultivars: Many superior tropical fruit varieties are hybrids or selections that do not "come true" from seed. Cuttings are the only way to faithfully reproduce these prized plants. Think of specific Loquat cultivars known for large fruit or a particular Mulberry that consistently produces huge, sweet berries.
- Cost-Effectiveness: Building a diverse tropical fruit collection can be expensive if you purchase every plant. Propagating from cuttings drastically reduces costs, allowing you to expand your garden or share plants with fellow enthusiasts. You can even trade cuttings with other local growers to broaden your collection.
- Faster Fruiting: Cuttings taken from mature, fruit-producing plants essentially retain that maturity. While they still need to establish a robust root system, they typically fruit much sooner than plants started from seed, which often go through a lengthy juvenile phase. This is crucial in South Florida where we want to maximize our abundant growing opportunities.
- Adaptation to Florida Conditions: If you have a healthy, productive tropical fruit plant thriving in your specific South Florida microclimate (e.g., handling our humidity, soil, and occasional cold snaps), propagating from it ensures its offspring will likely inherit that same resilience and adaptability.
- Creating a Local Gene Pool: By propagating Florida-proven varieties, you contribute to a local gene pool of plants well-suited to our unique environmental challenges, such as nematode pressure or specific humidity-related issues.
Step-by-Step Guide to Propagating Tropical Fruit Cuttings
Success with tropical fruit cuttings hinges on attention to detail and providing the right environment.
1. Timing is Key
- Best Time: For most tropical fruit species in South Florida, the active growing season (late spring through early fall) is generally best, when temperatures are consistently warm and humidity is high. Avoid taking cuttings during very hot, dry spells or immediately before cold fronts.
- Specifics: For evergreens like Fig or Mulberry, you can often take cuttings in late winter/early spring before new growth fully hardens, or in late summer after a flush of growth. Deciduous plants usually do best with dormant hardwood cuttings in late winter or actively growing semi-hardwood cuttings in late spring to early summer.
2. Selecting & Preparing Cutting Material
- Type of Cutting:
- Softwood: Taken from new, flexible growth, typically 2-6 inches long. Roots quickly but wilts easily. Best for fast-growing plants like Roselle.
- Semi-hardwood: Taken from slightly matured, firm but still flexible wood, typically 4-8 inches long. Most common and successful for many tropical fruits like Mulberry, Fig, and Surinam Cherry.
- Hardwood: Taken from mature, dormant wood, typically 6-12 inches long. Slower to root but very resilient once established. Figs and some subtropicals can root from hardwood.
- Health: Always choose healthy, vigorous, disease-free stems. Avoid stems with pests, discolored leaves, or signs of stress.
- Diameter: Pencil-sized diameter is often ideal for semi-hardwood and hardwood cuttings.
- Leaf Removal: Remove all but the top 1-3 leaves to reduce water loss (transpiration) while retaining enough photosynthetic capacity for the cutting to survive. If leaves are large, cut them in half horizontally.
- Cutting Angle: Make a clean cut just below a node (where a leaf or branch attaches to the stem) with sharp, sterile shears. This area has a higher concentration of rooting hormones. Some growers like to make a few shallow scrapes on the bark of the bottom inch of the cutting to expose cambium.
3. Rooting Hormone Application (Optional but Recommended)
- Powder vs. Liquid Gel: Rooting hormones (auxins) can significantly improve rooting success, especially for more challenging species.
- Powder: Dip the bottom inch of the prepared cutting into the powder, tap off excess.
- Liquid Gel: Dip the bottom inch into the gel.
- Types: Look for indole-3-butyric acid (IBA) or naphthaleneacetic acid (NAA) products. Different concentrations are available; lower concentrations for softwood, higher for semi-hardwood/hardwood.
4. Preparing the Rooting Medium
- Drainage is Crucial: The medium must be well-draining yet retain some moisture. Avoid heavy potting soil.
- Recommended Mixes:
- Perlite: Pure perlite offers excellent aeration but dries out quickly.
- Coarse Sand: Good drainage, but can be heavy.
- Peat Moss/Coco Coir & Perlite/Vermiculite (50/50 or 60/40 ratio): This is often an ideal balance, providing moisture retention, aeration, and slight acidity preferred by many tropicals.
- Sterilized Seed Starting Mix: Fine-textured and often pre-sterilized.
- Containers: Use small pots (2-4 inches), cell trays, or even repurposed plastic containers with drainage holes. Clean all containers thoroughly.
5. Inserting the Cuttings
- Pre-Poking: Use a pencil or chopstick to create a hole in the rooting medium before inserting the cutting. This prevents the rooting hormone from being scraped off and avoids damaging the cutting's tender end.
- Depth: Insert the cutting deep enough so at least one node is buried below the surface – roots often emerge from these nodes.
- Spacing: If using larger trays, ensure cuttings don't touch each other to prevent disease spread and air circulation issues.
- Moisture: Water the medium thoroughly after inserting cuttings to settle it around the stems.
6. Providing the Ideal Environment
- Humidity: This is paramount for preventing desiccation.
- Humidity Dome/Plastic Bag: Cover trays with a clear plastic dome or individual pots with clear plastic bags (propped up with sticks so they don't touch the leaves) to create a mini-greenhouse effect.
- Intermittent Misting: If you have an automated misting system, this is highly effective.
- Light: Indirect, bright light. Never direct South Florida sun, which will scorch and dry out cuttings. A shaded porch, under a tree, or an east-facing window is ideal.
- Warmth: Consistent temperatures between 75-85°F (24-29°C) are excellent for root development. A heated germination mat can provide bottom heat, significantly speeding up rooting for many species, especially in cooler months.
- Air Circulation: Briefly open humidity domes or bags daily to allow for fresh air circulation and prevent fungal issues.
7. Post-Rooting Care
- Monitoring: Periodically check for roots by gently tugging on a cutting. If there's resistance, roots are forming. You may also see roots emerging from drainage holes.
- Acclimation: Once rooted, gradually acclimate the young plants to lower humidity by progressively opening the humidity dome or plastic bag over a week or two.
- Potting Up: When the root ball is developed (usually fills the small pot), carefully pot up into a slightly larger container (e.g., 1-gallon) with a high-quality, well-draining tropical potting mix.
- Fertilization: Start with a very dilute fertilizer solution (e.g., half-strength liquid organic fertilizer) once new leaf growth is evident.
Best Practices & Pro Tips for Florida Growers
- Sterilization: Always sterilize your pruning shears and containers with rubbing alcohol or a bleach solution to prevent disease transmission.
- Pre-Soak: For hardwood cuttings, some growers find success by pre-soaking the cuttings in water for 24 hours before applying rooting hormone and planting.
- "Stick it and Forget it" (almost): While monitoring is important, resist the urge to constantly check or disturb your cuttings. Stability is key.
- Bottom Heat: As mentioned, a heating mat can be a game-changer for many tropicals, particularly during Florida's "cooler" winter months when ambient temperatures might drop below ideal rooting ranges.
- Labeling: Always label your cuttings with the species, cultivar, and date planted. It's easy to forget!
- Rooting in Water: While some plants (like Pothos) root easily in water, most tropical fruit cuttings prefer a solid medium for stronger root development and better transition to soil. This is generally not recommended for long-term health.
- Mist System: If you're serious about propogation, consider investing in an automated misting system, especially for larger batches of cuttings.
- Companion Cuttings: Sometimes having multiple cuttings in the same tray can create a localized humid microclimate, aiding success. However, ensure adequate spacing.
Common Mistakes to Avoid
- Using Unhealthy or Diseased Material: This is a recipe for failure. Only propagate from robust, pest-free plants.
- Insufficient Drainage: Soggy soil leads to rot, not roots. Ensure your medium is airy and containers have ample drainage.
- Lack of Humidity: The single biggest killer of newly planted cuttings in South Florida. They will dry out rapidly without a humid environment.
- Direct Sunlight: This will cook your cuttings. Bright, indirect light is essential.
- Overwatering the Rooting Medium: While humidity is vital, overwatering the medium itself (i.e., making it soggy) will lead to fungal decay. The medium should be consistently moist, not waterlogged.
- Impatience: Rooting times vary wildly (weeks to months). Don't give up too soon!
- Neglecting Acclimation: Moving a lushly rooted cutting directly from a high-humidity environment into the open air is a shock that can kill it. Gradually transition.
- Taking Cuttings at the Wrong Time: Avoid extremes in temperature and ensure the parent plant is actively growing.
FAQ
Q1: What are some of the easiest tropical fruit plants to root from cuttings in Florida? A1: Mulberry (especially 'Pakistan' or 'Shahtoot' varieties), Fig (virtually any type), Roselle, and Surinam Cherry are among the easiest. Loquat can also be rooted, though it requires a bit more patience and consistent humidity. Check out our detailed article on specific Fruit Plants You Can Start From Cuttings for more options.
Q2: How long does it typically take for tropical fruit cuttings to root? A2: Rooting time varies greatly by species and environmental conditions. Roselle might root in 1-2 weeks, Mulberries and Figs typically take 3-6 weeks, while Surinam Cherry or Loquat might take 6-12 weeks, or even longer for some harder-to-root species. Patience is key!
Q3: Can I use regular potting soil for rooting cuttings? A3: It's generally not recommended. Regular potting soil is often too dense and retains too much moisture, leading to rot. A specialized, well-draining rooting medium like perlite, coarse sand, or a peat/perlite mix provides the necessary aeration and moisture balance for delicate new roots.
Q4: My cuttings started to grow new leaves, but then they wilted and died. What happened? A4: This is a common issue. New leaf growth often occurs from stored energy in the cutting before any roots have formed. Without an established root system to absorb water, these new leaves deplete the cutting's reserves, and it eventually dehydrates and dies. This indicates insufficient humidity or premature removal of the humidity dome, preventing proper root development. Consistent humidity and patience until actual roots form are crucial.